Active Directory Attack Lab – Full Walkthrough
Quick Info
| Property | Value |
|---|---|
| Platform | CyberTask |
| Difficulty | Easy |
| Category | Active Directory / Windows |
| Time | ~1 hour |
| Tasks | 16 |
| Cost | Free (all machines included) |
| Access | Browser-based (No VPN required) |
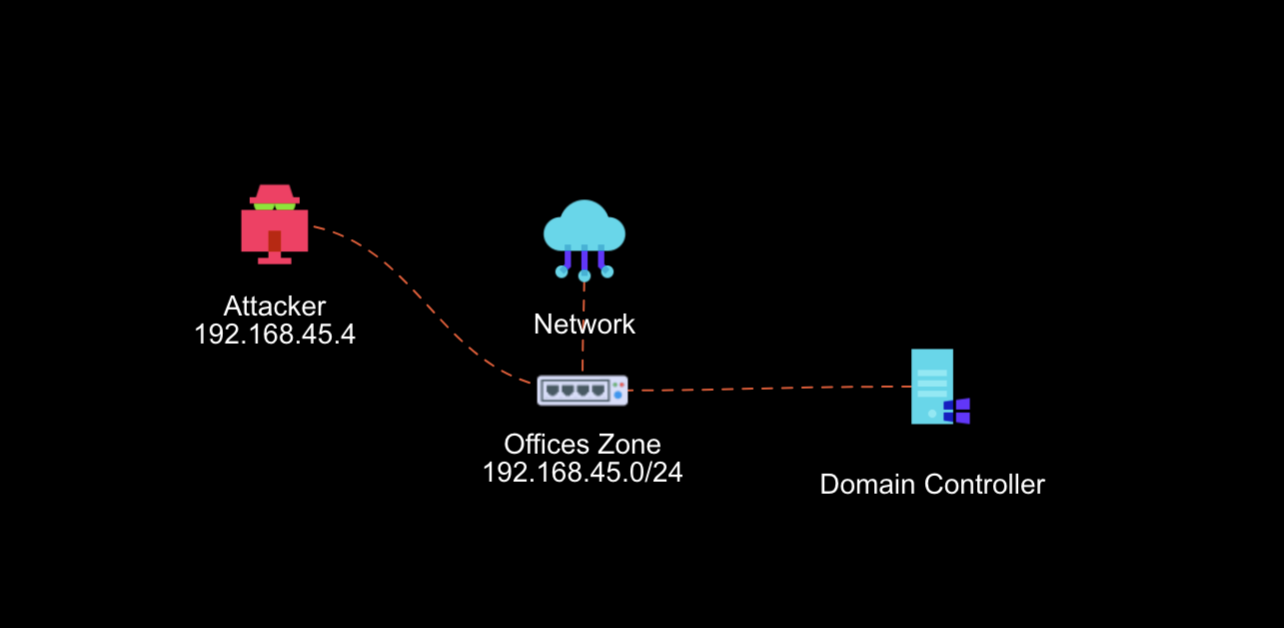 Lab network topology: Attacker (192.168.45.4) → Offices Zone (192.168.45.0/24) → Domain Controller
TL;DR
This walkthrough covers the first 6 tasks of the Active Directory Attack Lab: network discovery with arp-scan and nmap, capturing credentials via LLMNR poisoning with Responder, cracking NTLMv2 hashes with John the Ripper, and SMB share enumeration with netexec. Complete the remaining 10 tasks on CyberTask to achieve Domain Admin access.
What You’ll Learn
- Network reconnaissance techniques with
arp-scanandnmap - Understanding and exploiting LLMNR/NBT-NS vulnerabilities
- Capturing and cracking NTLMv2 hashes
- SMB share enumeration with valid credentials
- Active Directory enumeration techniques
- Privilege escalation via group membership abuse
- Full kill chain methodology for Windows Domain Controllers
Prerequisites
- Basic understanding of networking concepts
- Familiarity with Linux command line
- A free CyberTask account
Why Attack a Domain Controller?
Domain Controllers (DCs) are the crown jewels of any organization. They manage user accounts, authentication, group policies, and essentially hold the keys to the entire Windows infrastructure. Compromising a DC gives an attacker full control over an organization’s network.
In this walkthrough, we’ll execute a complete red team operation focused on a Windows Domain Controller, covering the full kill chain from initial reconnaissance to Domain Admin access.
Task 1: Find Target IP
Before attacking anything, we need to identify our target on the network.
Tool: arp-scan
arp-scan is a simple network scanner that discovers active hosts on your local network segment.
sudo arp-scan -l| Flag | Description |
|---|---|
sudo |
Run with root privileges |
-l |
Scan local network |
This command broadcasts ARP requests and lists all responding devices with their IP and MAC addresses.
192.168.45.0/24 subnet range for this lab.Task 2: TCP Port Scanning
With our target IP identified, we need to discover what services are running.
Tool: nmap
nmap -sV -sC -Pn -T4 [Target-IP] -p-| Flag | Description |
|---|---|
-sV |
Service version detection |
-sC |
Run default scripts |
-Pn |
Skip host discovery (assume host is up) |
-T4 |
Aggressive timing for faster scans |
-p- |
Scan all 65,535 TCP ports |
What to Look For
The scan will reveal services characteristic of a Windows Domain Controller:
- Kerberos (port 88) – Authentication service
- LDAP (port 389/636) – Directory services
- SMB (port 445) – File sharing
- DNS (port 53) – Name resolution
- RPC (ports 135, 139) – Remote procedure calls
-p- to save time. Only use full port scans if initial results aren’t interesting.Task 3: UDP Port Scanning
Many Windows services communicate over UDP, which is often overlooked.
nmap -T4 -sU -F -Pn [Target-IP]| Flag | Description |
|---|---|
-sU |
UDP scan |
-F |
Fast scan (top 100 ports) |
Look for services like NTP (port 123), SNMP (port 161), and DNS (port 53) running over UDP.
Task 4: LLMNR/NBT-NS Poisoning
This is where the real exploitation begins. LLMNR (Link-Local Multicast Name Resolution) and NBT-NS (NetBIOS Name Service) are fallback name resolution protocols used when DNS fails.
The Vulnerability
When a Windows client can’t resolve a hostname via DNS, it broadcasts an LLMNR/NBT-NS query to the local network. Any host can respond to these queries – including an attacker.
Tool: Responder
sudo responder -I eth0 -v| Flag | Description |
|---|---|
-I eth0 |
Network interface to listen on |
-v |
Verbose output |
How It Works
- Responder listens for LLMNR/NBT-NS broadcast queries
- When a client queries for a non-existent hostname, Responder responds as that host
- The client attempts to authenticate, sending its NTLMv2 hash
- Responder captures the hash for offline cracking
Wait a few minutes for client activity. You’ll see output like:
[SMB] NTLMv2-SSP Client   : 192.168.10.4
[SMB] NTLMv2-SSP Username : soupedecode\xkate
[SMB] NTLMv2-SSP Hash : xkate::soupedecode:06952bd9b466cbc9:67E056B0...Task 5: Cracking the Hash
With a captured NTLMv2 hash, we can attempt to crack it offline using a dictionary attack.
Tool: John the Ripper
First, save the captured hash to a file:
echo 'xkate::soupedecode:06952bd9b466cbc9:67E056B0...' > hash.txtThen crack it:
john hash.txt -w /usr/share/wordlists/john.lst --format=netntlmv2| Flag | Description |
|---|---|
-w |
Wordlist file path |
--format=netntlmv2 |
Specify hash format |
rockyou.txt or use rules with --rules=best64.Task 6: SMB Share Enumeration
With valid credentials, we can now enumerate SMB shares on the target.
Tool: netexec
netexec smb [Target-IP] -u [Username] -p [Password] --shares| Flag | Description |
|---|---|
smb |
Target SMB protocol |
-u |
Username |
-p |
Password |
--shares |
Enumerate accessible shares |
Look for non-default shares with READ/WRITE permissions – these often contain sensitive data or provide a foothold for further exploitation.
Continue the Attack on CyberTask
You’ve completed the first 6 tasks covering reconnaissance, credential capture, and initial enumeration. The remaining 10 tasks will guide you through:
- Tasks 7-8: Interacting with SMB shares and extracting sensitive data
- Tasks 9-12: Deep Active Directory enumeration (users, groups, permissions)
- Tasks 13-15: Privilege escalation via group membership abuse
- Task 16: Achieving Domain Admin and capturing the flags
FAQ
What is LLMNR poisoning?
LLMNR poisoning is a man-in-the-middle attack that exploits Windows’ fallback name resolution protocols. When DNS fails, Windows broadcasts queries that attackers can intercept to capture credentials.
Why are Domain Controllers high-value targets?
Domain Controllers manage all authentication and authorization in a Windows domain. Compromising a DC gives attackers the ability to create accounts, access any system, and persist indefinitely.
How can organizations protect against these attacks?
- Disable LLMNR and NBT-NS via Group Policy
- Enforce strong password policies
- Implement network segmentation
- Monitor for suspicious authentication patterns
- Use Protected Users security group
What tools are used in this lab?
arp-scan– Network discoverynmap– Port scanning and service detectionResponder– LLMNR/NBT-NS poisoningJohn the Ripper– Password crackingnetexec– SMB enumeration and exploitationsmbclient– SMB share interaction
How long does it take to complete the full lab?
Most users complete all 16 tasks in about 1 hour. The lab is designed for beginners with guided questions and hints available if you get stuck.
Conclusion
You’ve learned the foundations of Active Directory attacks: network reconnaissance, LLMNR poisoning, hash cracking, and SMB enumeration. These techniques form the basis of real-world red team engagements against Windows environments.
Ready to finish the attack? Complete the remaining 10 tasks on CyberTask to escalate privileges and achieve Domain Admin access.
Start the Active Directory Attack Lab →